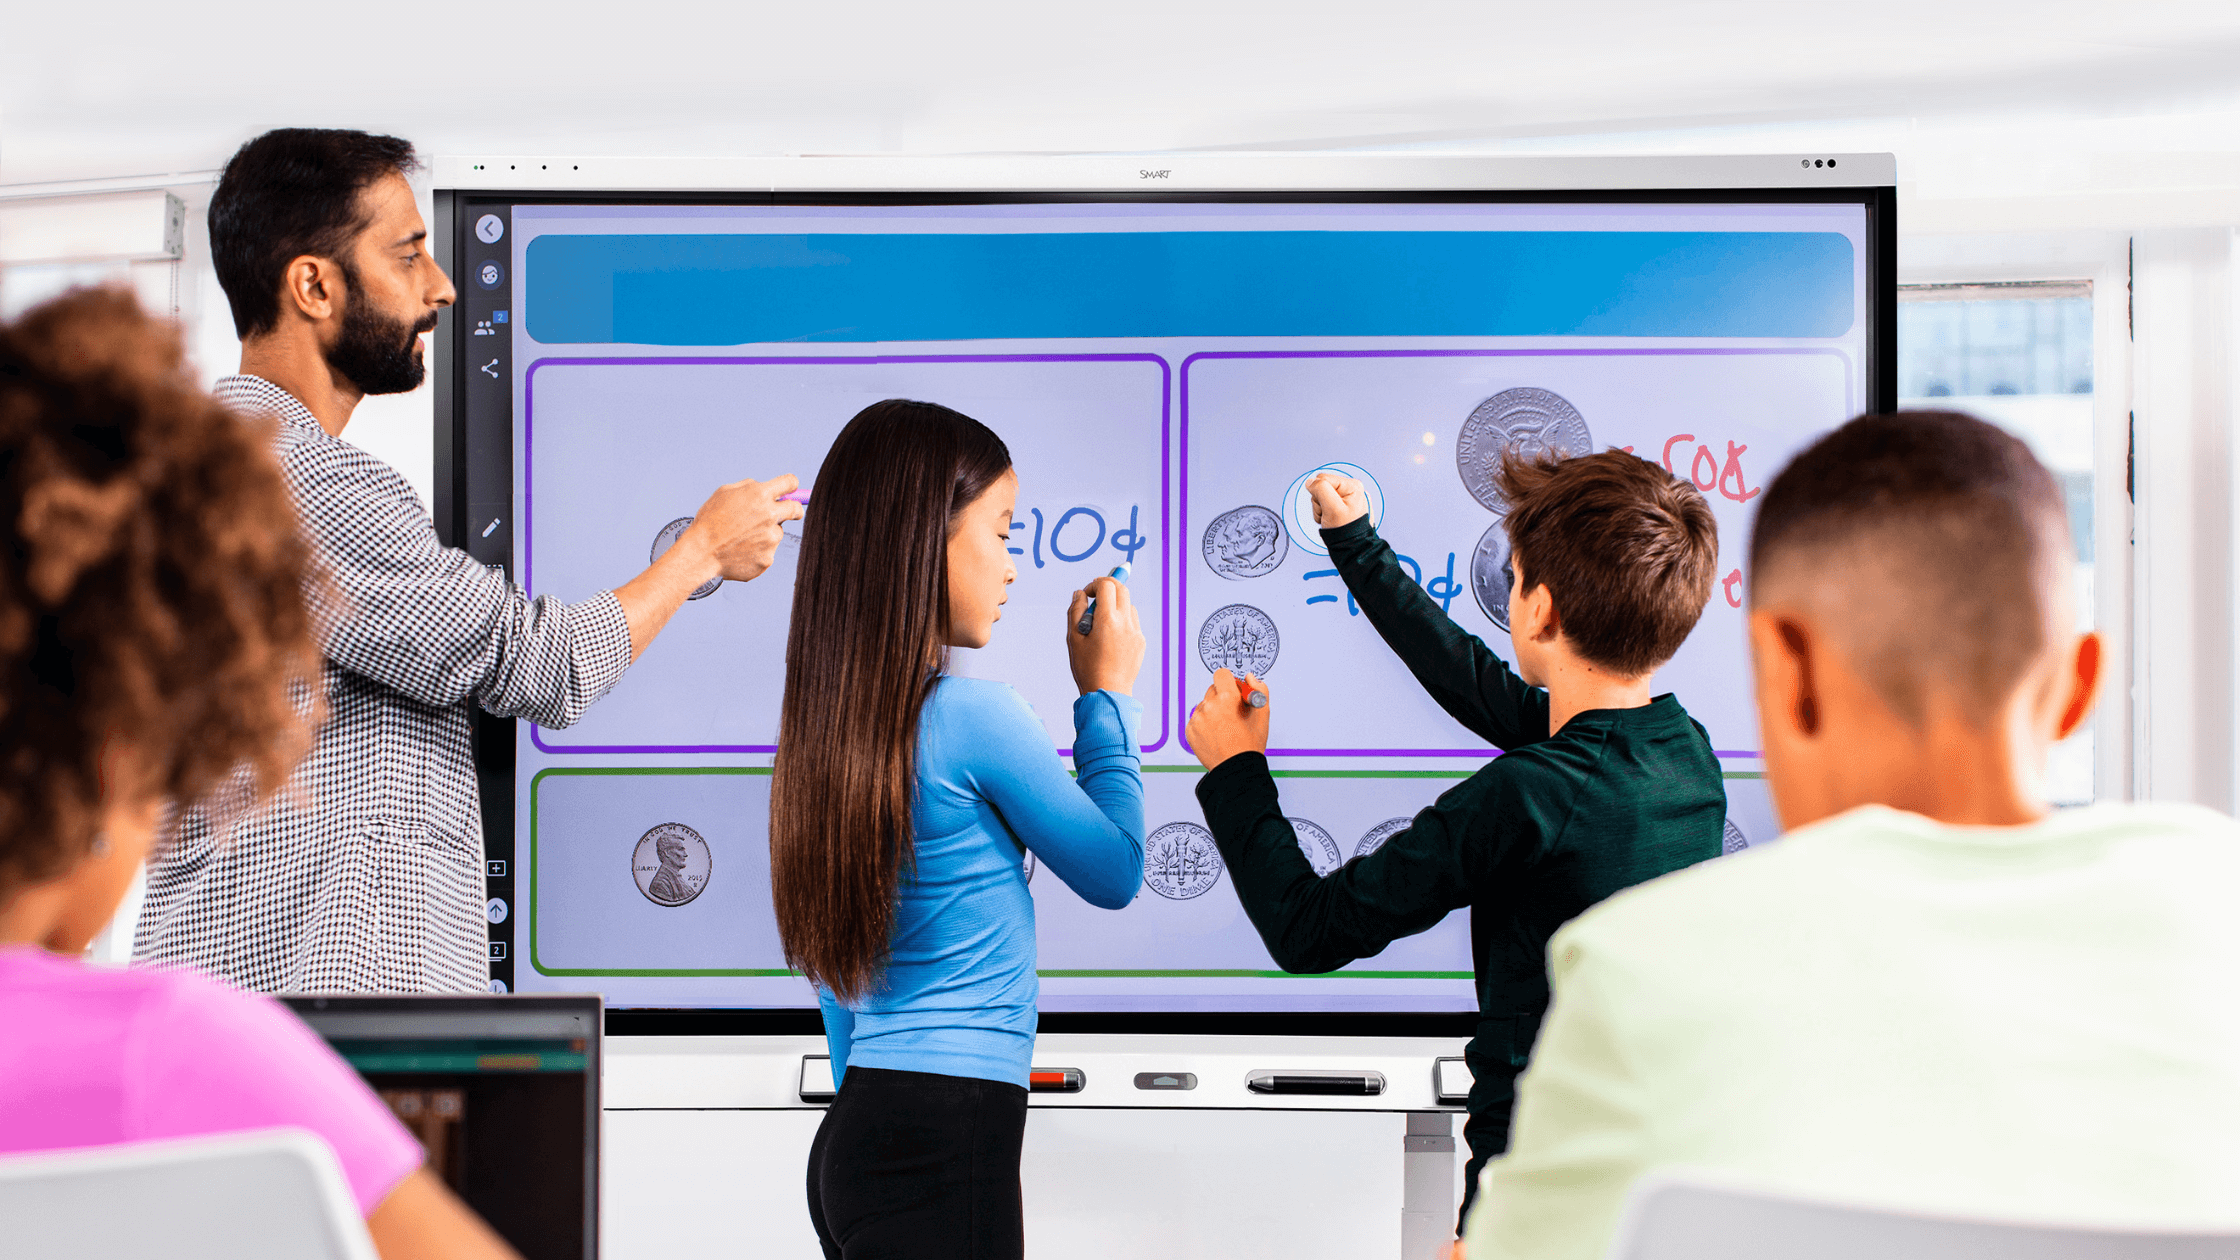
Just started in a new classroom? Substituting for a new subject? Or just want to save a bit of prep time? Let your SMART display be your MVP!
Whether you’re new to using a SMART Board or a long-time user looking to save some prep time, these tips are designed to help you do just that, and make sure that you know how easy it is to get started and to get the most from your SMART display with iQ.
Tip 1: Use Your ‘Walk up and teach’ Tools
Your SMART display is built to be intuitive so that it really is that easy to get started teaching any topic or grade level. A great first step is to launch the built-in iQ whiteboard to:
- Import a PDF to easily share it, turning it into a collaborative or independent activity. See the three steps to quickly do that right HERE.
- Grab your student’s attention by adding dynamic content to the whiteboard - like videos and images on any subject. With safe, integrated search, finding content that supports any lesson or conversation is simple.
- This is also a great space for you or your students to use your pens and other tools to make notes about the content to drive conversation and questioning.
- It’s easy to split screen or switch between your favorite websites and apps from your display. Annotate on top of them with the touch of a pen and save the screen as an editable file within your whiteboard to keep everything about a topic or lesson in one place.
Tip 2: Make anything interactive – instantly.
Forget about that disintegrating box of fraction tiles. The ready-made whiteboard activities on your SMART display make it easy for students to get in their learning in a hands-on way, without lots of extra stuff needed.
Interactive tools and page templates available with a single click include:
- Measurement tools
- Counters
- Fraction tiles
- Letter blocks
- Sports fields
- Mind maps
- Widgets like a spinner, dice, and a clock
... and more ready-made digital manipulatives for a variety of subjects including money, time, math, reading, music, patterns and just about anything else.
All these options are available for your lessons, exit tickets, and on-the-fly teaching. See the simple steps to adding graphic organizers and manipulatives:
Tip 3: Enable whole-class collaboration with ease
Your SMART Board has every form of screen sharing you could think of, but we know that managing 30 kids all trying to queue up and share can be challenging. Teachers like you asked for something easier, so we made an easy to launch whole-class collaborative whiteboard to help students learn with and from each other.
Students can ink, add text, and interact with objects in the whiteboard – like those neat digital fraction tiles! And you can easily see which students added and edited on the whiteboard by clicking on the items, helping you understand classroom contribution better.
Your SMART display with iQ can broadcast your whiteboard lesson to student devices so students can work together from wherever they are, with no log in required.
Connecting devices lets you:
- Run built-in polling activities to quickly check for understanding
- Use brainstorming activities to get the whole class thinking together
- Run exit tickets designed especially for education
- Toggle to student pacing mode for more accessible, active learning at anyone’s pace
Tip 4: Elevate student voice with ‘Shout It Out’
Ensuring that all students can connect and participate in learning is essential. Along with being able to share our collaborative whiteboard with your entire class, Shout It Out makes it simple for students to share their thoughts and ideas.
You may have some shyer students, and/or students who require assists or accommodations and need alternative options to be able share their learnings collaboratively. ‘Shout It Out’ gives students more freedom and autonomy to participate in class discussion, in a way that’s comfortable for them, using images or text to respond to an open-ended prompt you give.
Next time you’re brainstorming ideas with your class, ask your students to share only images to describe their ideas. This gives them a different way to communicate their thoughts, AND challenges them to describe their ideas through a different format.
Tip 5: Let students lead learning at the SMART Board
Not all touch screens are created equal. SMART displays make collaboration simple – they’re the ONLY intuitive touch display designed to support student collaboration. That means that students can freely write, erase, touch, and gesture at the same time without interrupting each other.
You can have students work together for station based learning, show their learning and work for others at the front of the class, and work together to develop ideas and concepts right at the SMART display. There are so many ways to use a SMART Board that isn’t just about being at the front of a classroom.
Easy today, Easy tomorrow.
Did you know you can (and should!) log into your SMART Board? Make things easier for the ‘Tomorrow You’ by saving your favorite activities, lessons, or collaborative whiteboard right to your SMART display’s home screen for easy lesson launch in the morning. When you log in, you can customize your apps, background… everything really.
But wait, there’s more!
Level up with range of free training resources – both functional and pedagogical - created for educators by educators. No matter your experience, our scaffolded training resources have an easy way to amplify your favorite instructional practices. Check it out here:


